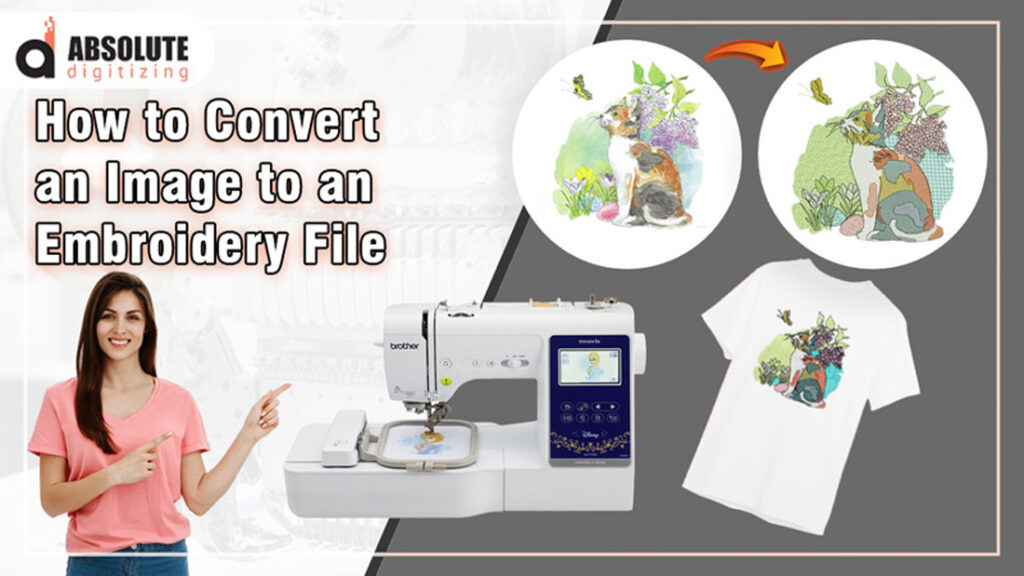
Converting images to DST files is a crucial step in the embroidery process. Whether you’re a hobbyist or a professional embroiderer, understanding how to convert an image to a DST file can significantly enhance your ability to create intricate and beautiful designs. This beginner’s tutorial on how to convert image to DST file will guide you through the entire process, ensuring that you can achieve the best results with minimal hassle.
What is a DST File?
Understanding Embroidery File Formats
A DST file is a widely used format in the embroidery industry. It contains data that tells an embroidery machine how to stitch a design, including information about the stitch’s length, direction, and order. Unlike image files such as JPG or PNG, DST files are not visual but rather instructions for machines to follow.
Why DST Files are Important
DST files are essential because they are compatible with most commercial embroidery machines. This file format ensures that your design is replicated accurately on fabric, maintaining the integrity of your artwork. For beginners, learning how to convert images to DST files is the first step toward mastering machine embroidery.
Common Uses of DST Files
DST files are used for various applications, from branding on corporate apparel to personalized gifts. By converting your images into DST files, you can create custom embroidered designs that are precise and professional-looking.
Choosing the Right Software
Overview of Available Software
There are several software options available for converting images to DST files. Some popular choices include Wilcom, Hatch, and SewArt. Each software has its unique features, catering to different levels of expertise and project needs.
Free vs. Paid Software: What’s Best for You?
Free software options, such as Ink/Stitch, can be a good starting point for beginners. However, paid software like Wilcom offers advanced features that can help in achieving more complex designs with ease. Consider your needs and budget when choosing the right tool.
Installation and Setup
Once you’ve selected your software, the next step is installation. Most software will come with a straightforward installation process, but it’s essential to ensure that your system meets the software’s requirements to avoid any issues during setup.
Preparing Your Image for Conversion
Image Quality Matters
The quality of the image you start with will significantly impact the final embroidery design. Ensure your image is high resolution, with clear lines and contrasts, to get the best results when converting to a DST file.
Simplifying the Design
Embroidery machines can struggle with overly complex images. Simplify your design by reducing the number of colors and eliminating intricate details that might not translate well in thread.
Image Formats: Which to Use?
Most embroidery software accepts various image formats like JPG, PNG, or BMP. It’s important to choose the right format based on the software you’re using, as this can affect the ease of conversion and the final output quality.
Converting the Image to DST
Step-by-Step Conversion Process
Once your image is prepared, you can start the conversion process. Here’s a general step-by-step guide:
- Import the Image: Open your software and import the image you’ve prepared.
- Adjust the Settings: Customize the stitch settings, such as stitch type, length, and direction, according to your design needs.
- Run the Conversion: Use the software’s conversion feature to transform the image into a DST file.
- Save the File: Once converted, save the file in the DST format, ready for embroidery.
Troubleshooting Common Issues
If your design doesn’t convert well, check for issues such as too many colors, small details, or low-resolution images. Adjusting these aspects before conversion can help achieve a better outcome.
Testing the DST File
Before moving on to your final embroidery, it’s wise to test the DST file. Use a sample fabric to ensure that the design stitches out as expected, making any necessary adjustments in the software if needed.
Using the DST File for Embroidery
Loading the File into the Embroidery Machine
After conversion, load the DST file into your embroidery machine. This process will vary depending on the machine model, but generally, you’ll need a USB drive or a direct connection to transfer the file.
Setting Up Your Machine
Ensure that your embroidery machine is correctly set up with the appropriate thread, needle, and stabilizer for your project. Follow the machine’s manual for specific instructions on loading and positioning the fabric.
Embroidering the Design
With everything set up, start the embroidery process. Monitor the machine as it stitches out the design to catch any issues early, such as thread breaks or misalignments.
Tips for Beginners
Starting with Simple Designs
If you’re new to embroidery digitizing, start with simple designs. This will help you learn the basics without being overwhelmed by complex patterns.
Practicing Regularly
Like any skill, practice is key to mastering embroidery digitizing. The more you convert and embroider, the more confident you’ll become in creating beautiful designs.
Joining Online Communities
Consider joining online forums or social media groups dedicated to embroidery. These communities can be valuable resources for tips, tutorials, and troubleshooting advice.
Conclusion: Mastering the Art of Image to DST Conversion
Converting an image to a DST file might seem challenging at first, but with the right tools and knowledge, it becomes an easy and rewarding process. Whether you’re creating custom designs for personal use or for clients, understanding how to convert images to DST files opens up a world of creative possibilities. By following this beginner’s tutorial by Absolute Digitizing, you can confidently embark on your embroidery digitizing journey and produce stunning, professional-quality designs. Remember, practice and patience are key, so keep experimenting with different designs and techniques to hone your skills. Happy embroidering!


